At one point or another you might entertain the idea of having one of your finished projects professionally photographed. With that comes a bit of preparation to make sure the shoot runs smoothly and we get the best possible shots for you that day.
Below, I have outlined 3 ways to prep your space to make sure your interior design shoot runs smoothly and your project is photo ready.
Have the space professionally cleaned.
A clean space photographs best! I can’t tell you how many times I have wiped off construction dust from a kitchen shelf mid-shoot, had to clean out a kitchen sink upon arrival or pile kids toys in the back bedroom out of sight. Though I don’t mind being helpful, it’s much easier if these things are taken care of pre-shoot so we spend less time prepping and more time shooting once the session begins.
Remove all client belongings that don’t reflect your own aesthetic.
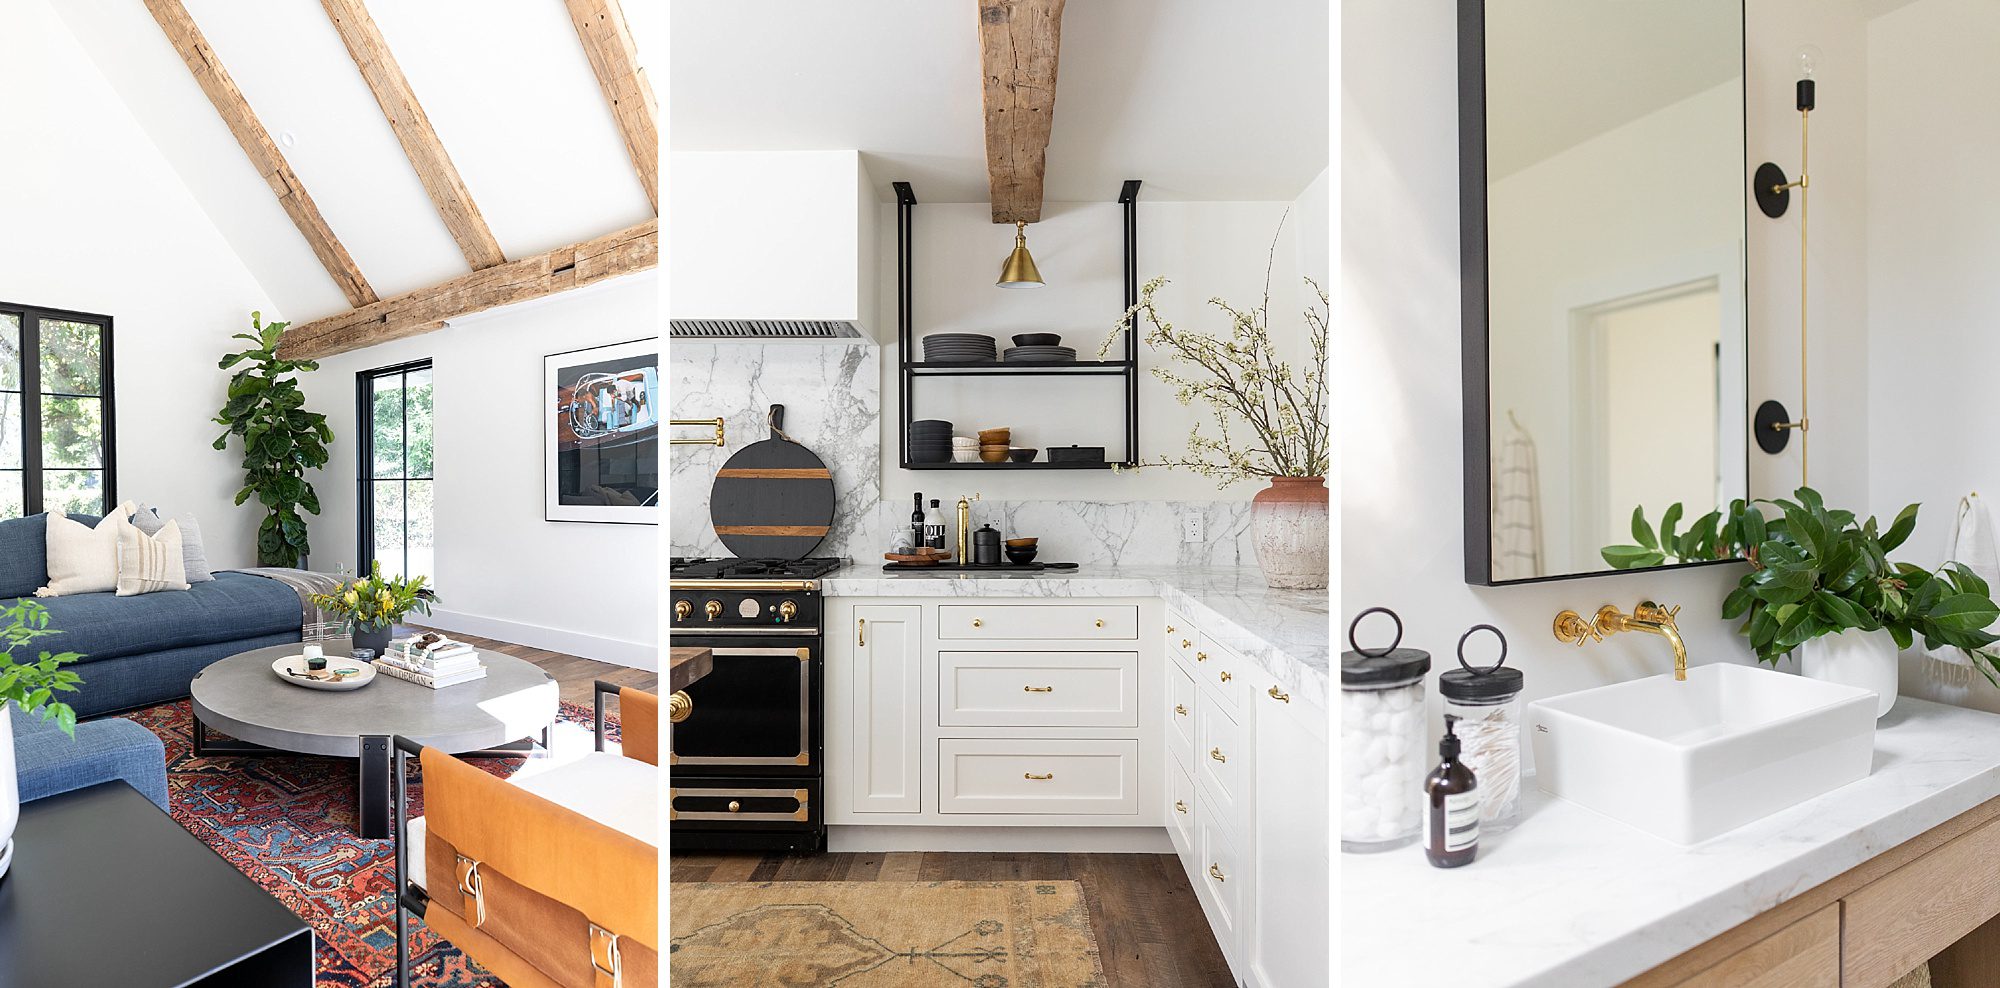
Piggy-backing off of a professionally cleaned space, it’s equally important to prep the space with design appropriate accessories. By this I mean, removing your client’s family portraits, knick-knacks and dog dishes (I promise it won’t hurt your client’s feelings) and replacing them with accessories that fit your personal design aesthetic.
Think kitchen towels, soap dispensers, plates, bowls and mugs for styling kitchen shelves, plants, rugs, pillows, blankets, candles etc. Once you have a small arsenal of accessories you can bring this to all of your shoots and quickly touch up any project before a shoot.
Have all overhead and decorative lighting turned off.
I shoot with mostly natural light so any artificial lighting within a space can alter the color of a space fairly drastically by casting a tungsten glow over the photo. So it’s easiest to gauge lighting within the space and see what I’m working with if I walk into an already natural-lit space. Sometimes it takes upwards of 10-15 minutes walking through a home to shut off all overhead and decorative lighting and every minute counts when we’re shooting with natural light! So it’s definitely best to take care of this step before the photographer arrives.
Bonus points if all of these things are done before shoot-time begins so we can get to work on photographing your project! :)
These are just a few things to help you prep your project for shoot day. Hopefully they’re helpful as you navigate prepping for your next project to be photographed!